Advanced guides
Add Monocle to any site
Add Monocle to any site
What this guide covers
This guide adds Monocle Search to a non-Squarespace site. For a Squarespace site, use the Squarespace setup guide.
Part 1: Create an account
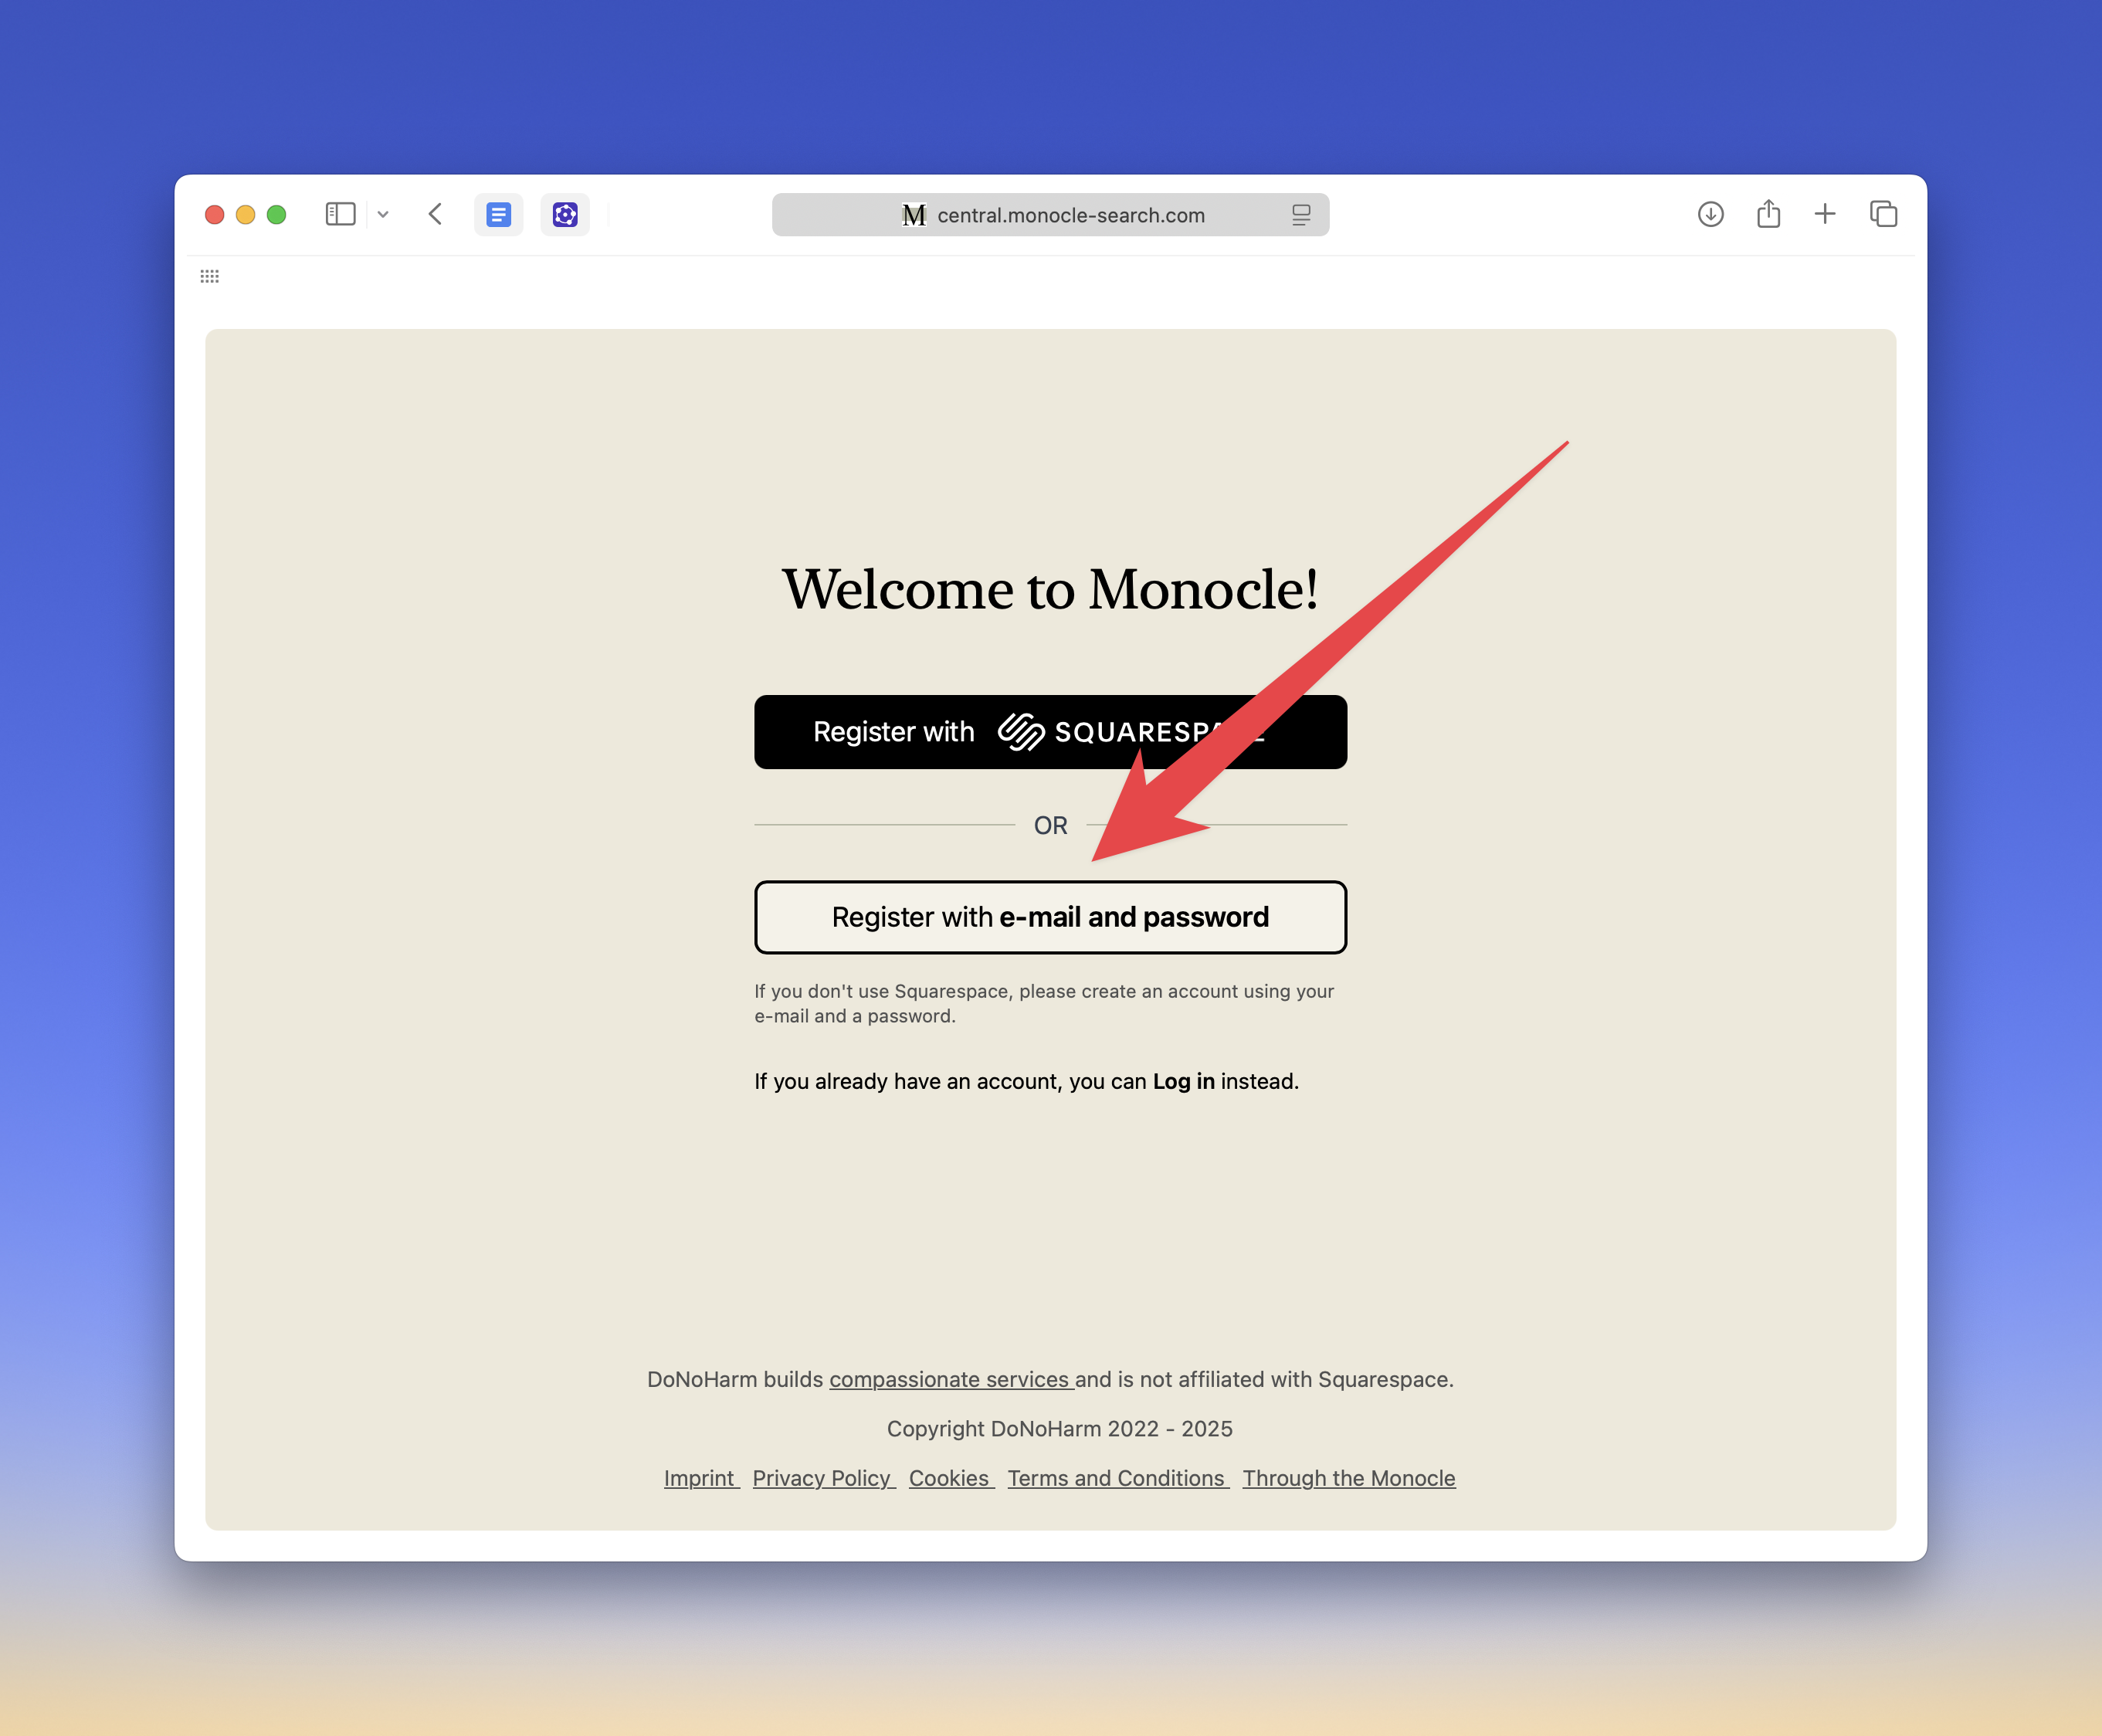
- At monocle-search.com, select Register.
- Select Register with email and password.
- Enter your email address, a password, and the other required details. Then select Create an account.
Part 2: Set up Monocle
Enter your site URL, then select Start trial. This guide uses demo.monocle-search.com as an example.
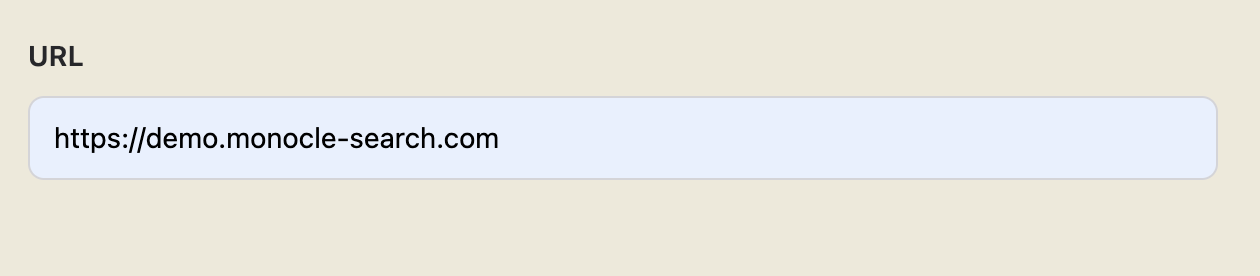
Monocle starts to index your site in the background.
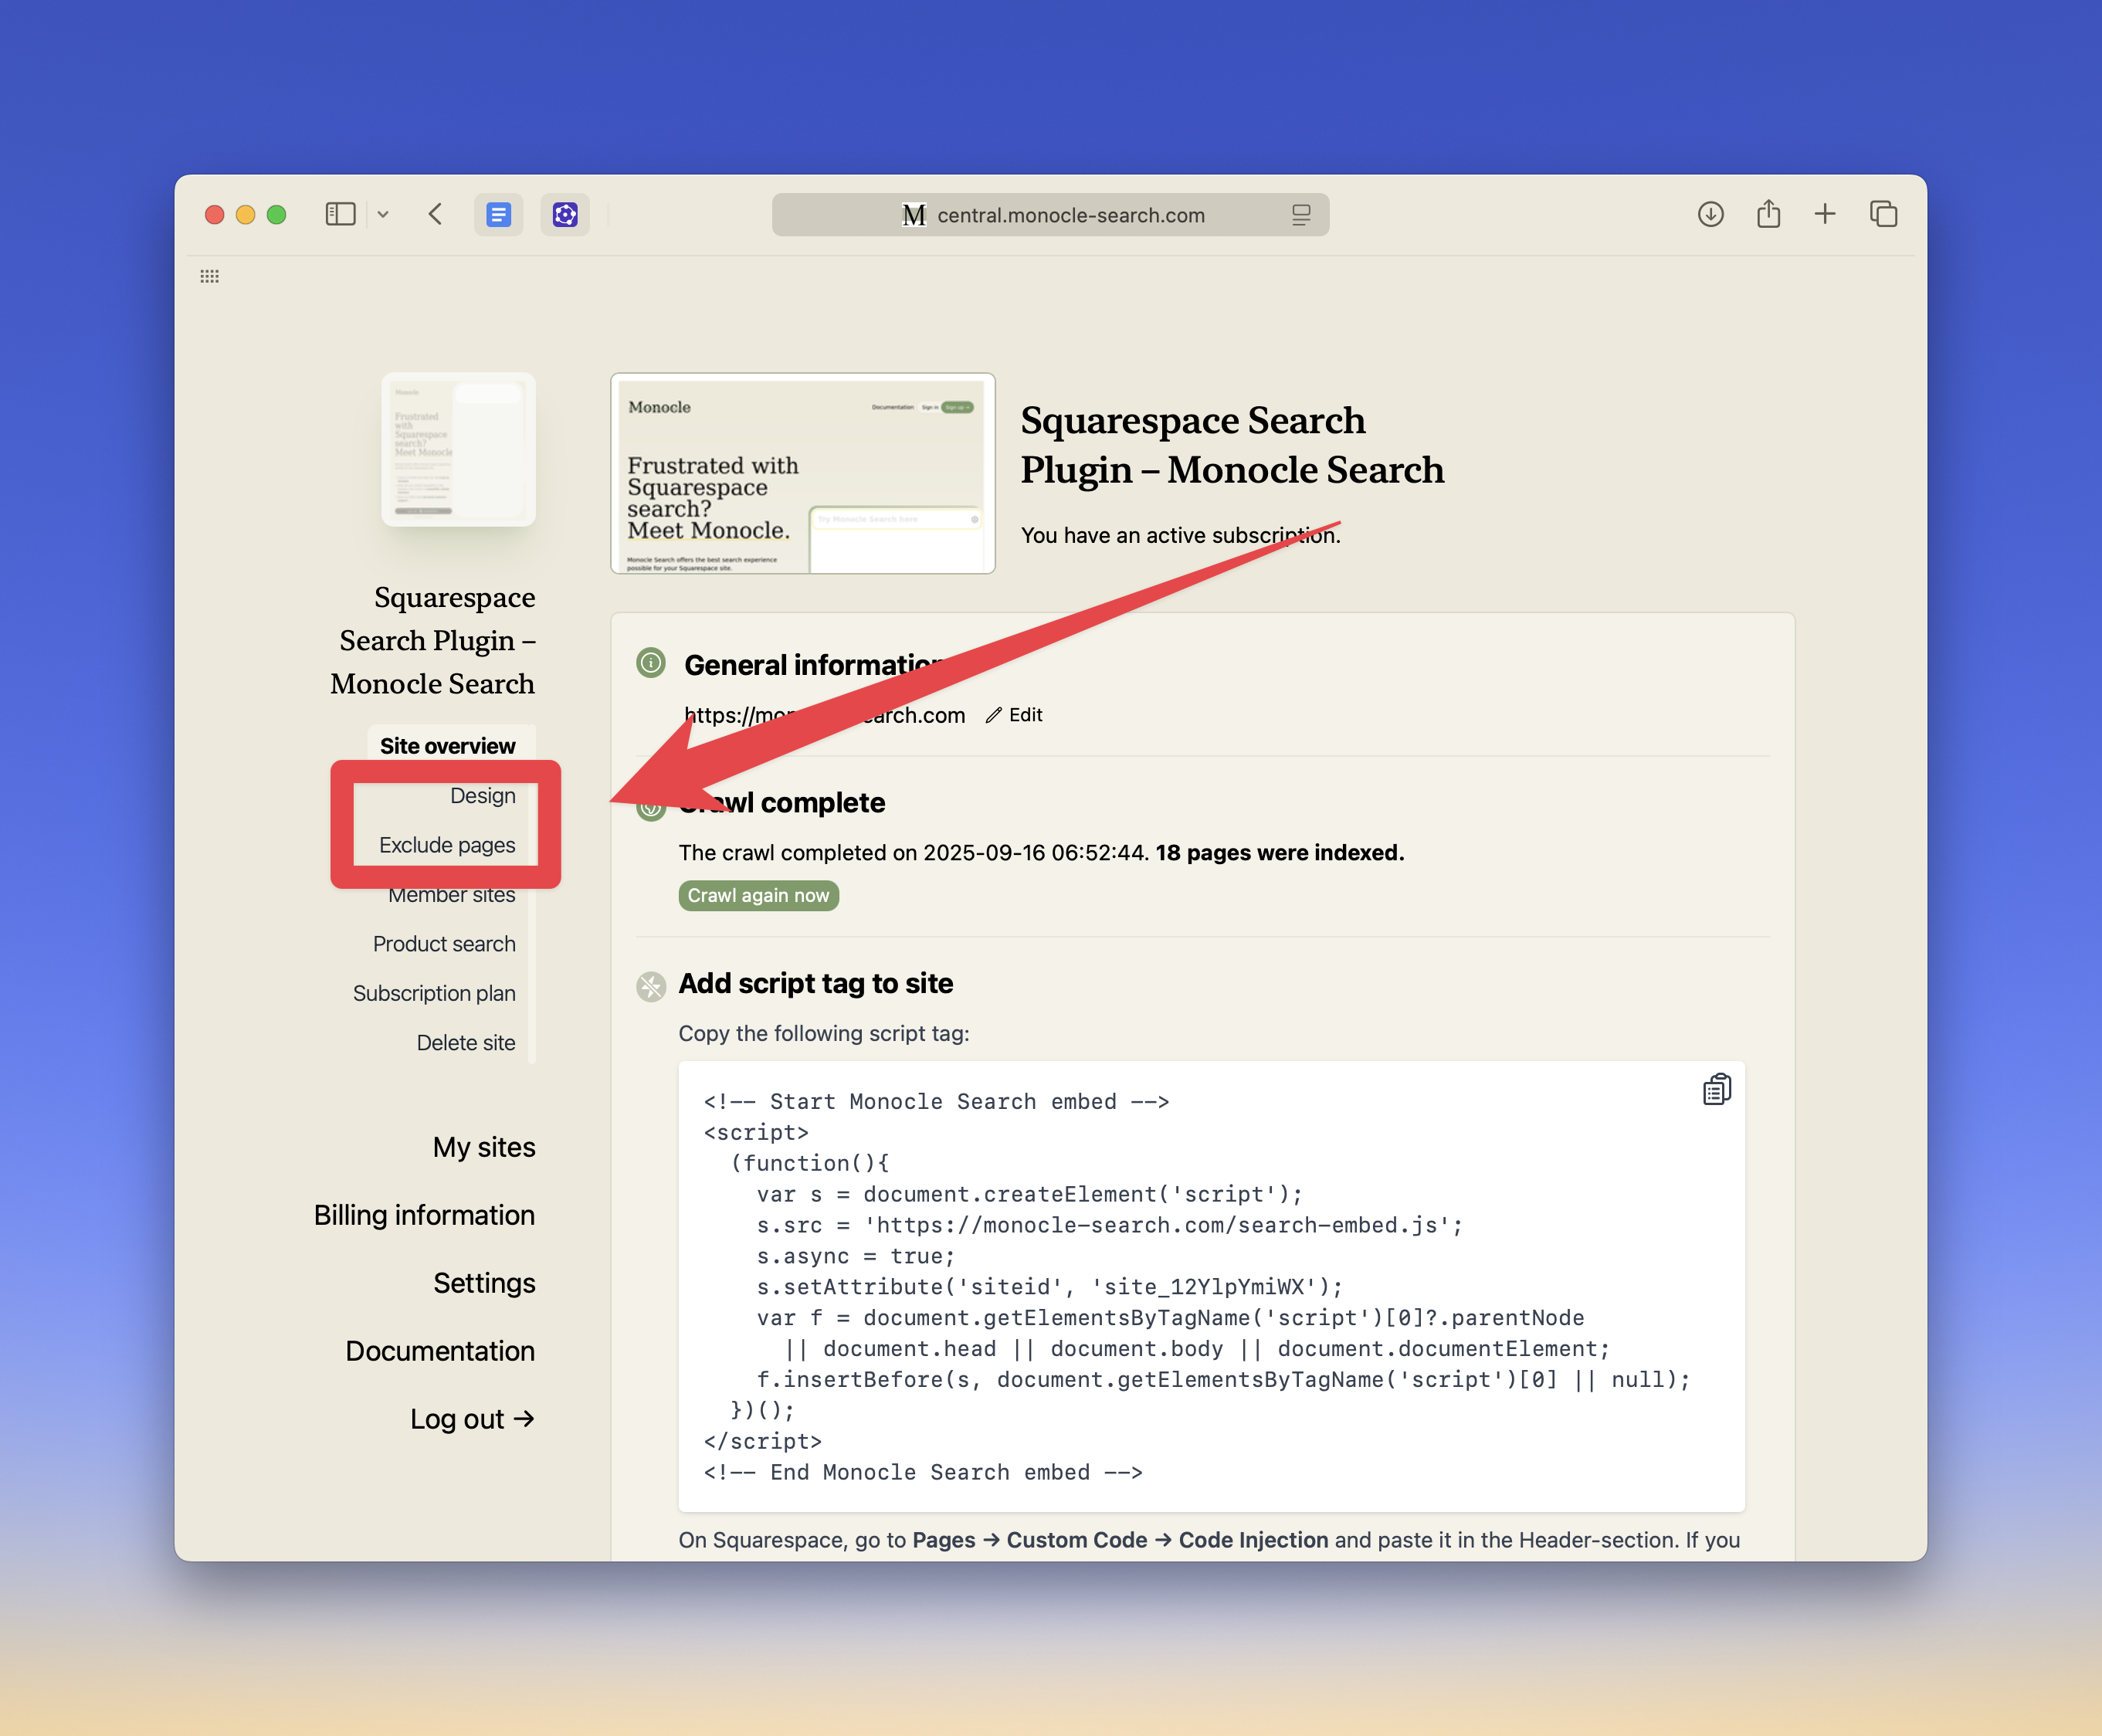
Next, copy the script for your site. Your script has a different siteID from the example:
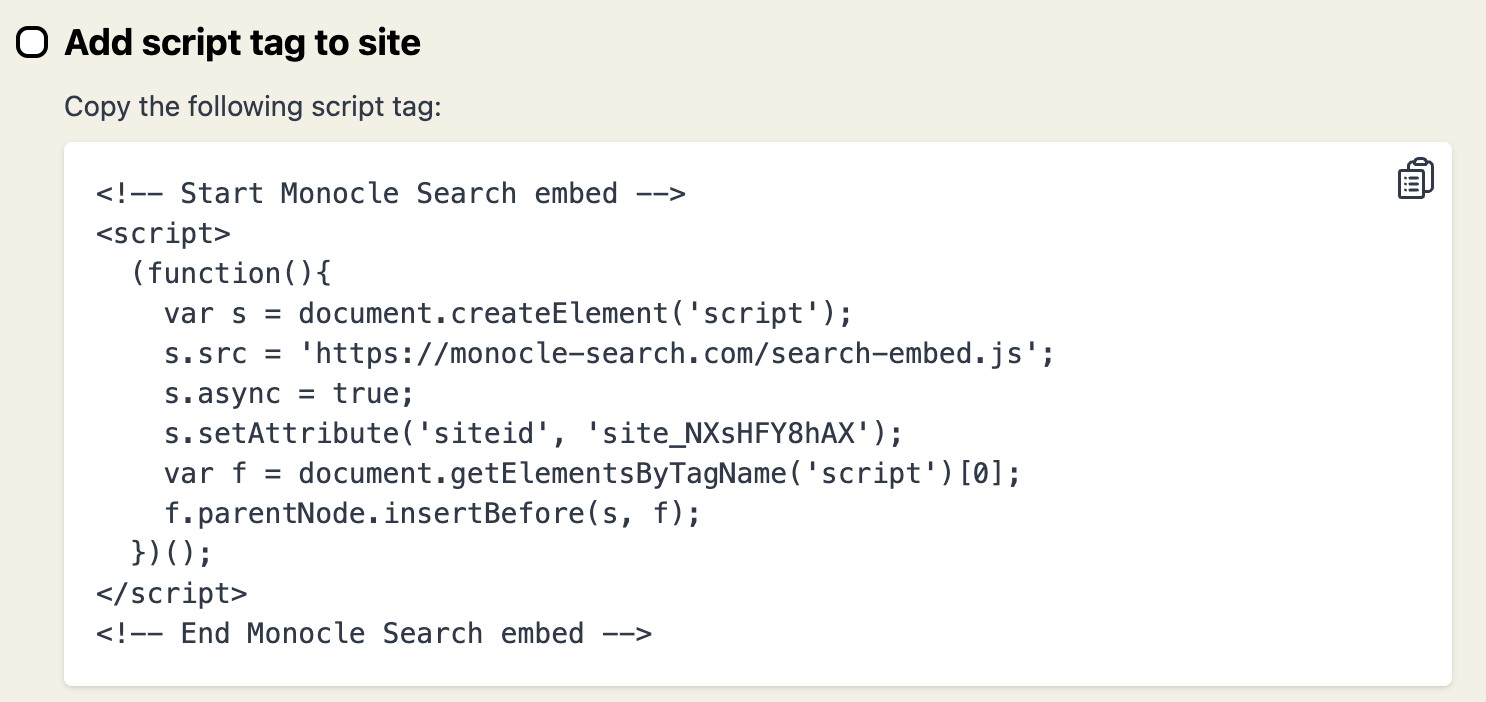
Select the clipboard button, or select and copy the script.
The steps for adding the script depend on your website builder. For a static site generator, such as Jekyll, Next.js, or Astro, add it to the shared layout.
For Cargo Collective, follow the Cargo Collective guide.
If you need help, contact support.
Part 3: Activate the search interface
Use one of these methods to open Monocle Search:
- Add a link whose destination is
/search. - Add an input with a type of
search.
Link to /search
The simplest method is a link to /search:
<a href="/search">Search</a>
To open Monocle with a query already filled in, add the preferred mnc-search parameter:
<a href="/search?mnc-search=delivery+times">Search delivery times</a>
/search and ../search links can also use q.
If a link has both parameters, mnc-search takes precedence.
The following destinations open the same query:
search:delivery%20timessearch://delivery%20timeshttp://search:delivery%20timeshttps://search:delivery%20times
Style the link to match your site. You can also add a custom SVG icon, such as one from Heroicons.
Add a search input
To add a search input, use this HTML:
<input
  type="search"
  placeholder="Search my site"
  style="width: 300px; border: 1px solid #ccc; padding: 0.5rem; border-radius: 4px"
/>
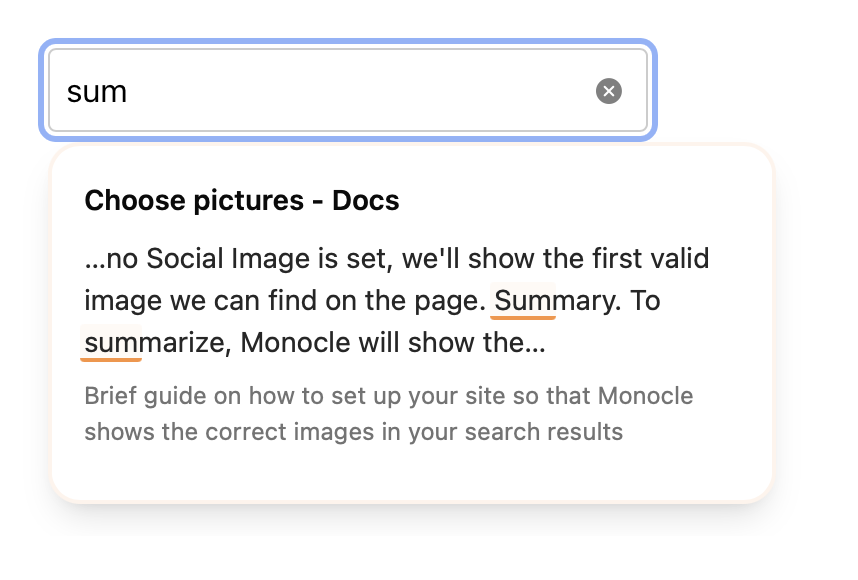
The search interface then appears like this:
Keep a filter input separate
For a filter input, use type="text" without the search-input class. Add data-monocle-ignore to exclude it from automatic search handling:
<input type="text" aria-label="Filter items" data-monocle-ignore>
Set the attribute in the HTML. For script-created inputs, set it before you add the input to the page. You can also set it on a containing element to exclude all inputs inside that element.
Plain text inputs also avoid automatic input detection by older search embeds. Content listing inputs use this setup automatically. The autocomplete="off" attribute controls browser suggestions, not the Monocle Search interface.
Programmatic activation
Developers can also activate Monocle Search programmatically.
The script exposes the Monocle object on window. Contact support if you need help with this API.
For example, this code uses an input with the ID search and renders results in an element with the ID results:
<script type="module">
  let monocleReady = false;

  function tryInitialiseSearch(input) {
    const mount = document.getElementById("results");
    if (!mount || !window.Monocle)
        return false;

    window.Monocle.createCustomInterface(input, mount);
    return true;
  }

  function handleFocus(event) {
    const {target} = event;
    if (monocleReady || target.id !== "search")
        return;

    try {
        monocleReady = tryInitialiseSearch(target);
        if (monocleReady)
            document.removeEventListener("focusin", handleFocus);
    } catch (err) {
        console.error("Failed to initialise Monocle Search:", err);
    }
  }

  document.addEventListener("focusin", handleFocus);
</script>
Part 4: Customise Monocle Search
Use the design and page exclusion editors in the Monocle admin interface to customise search.
Get help
Contact support if you cannot complete a step or need help with a custom setup.