Introduction
Add Monocle to a Squarespace site
What this guide covers
This guide adds Monocle Search to a Squarespace site. At the end, Monocle has indexed the site, and visitors can open the search interface.
If your site does not use Squarespace, follow the setup guide for other sites.
Part 1: Add Monocle Search
- At monocle-search.com, select Register.
- Select Register with Squarespace.
- If Squarespace shows more than one site, select the site that needs Monocle Search.
- Select Allow in the permissions screen, then enter your email address.
You should now see a screen like this one:
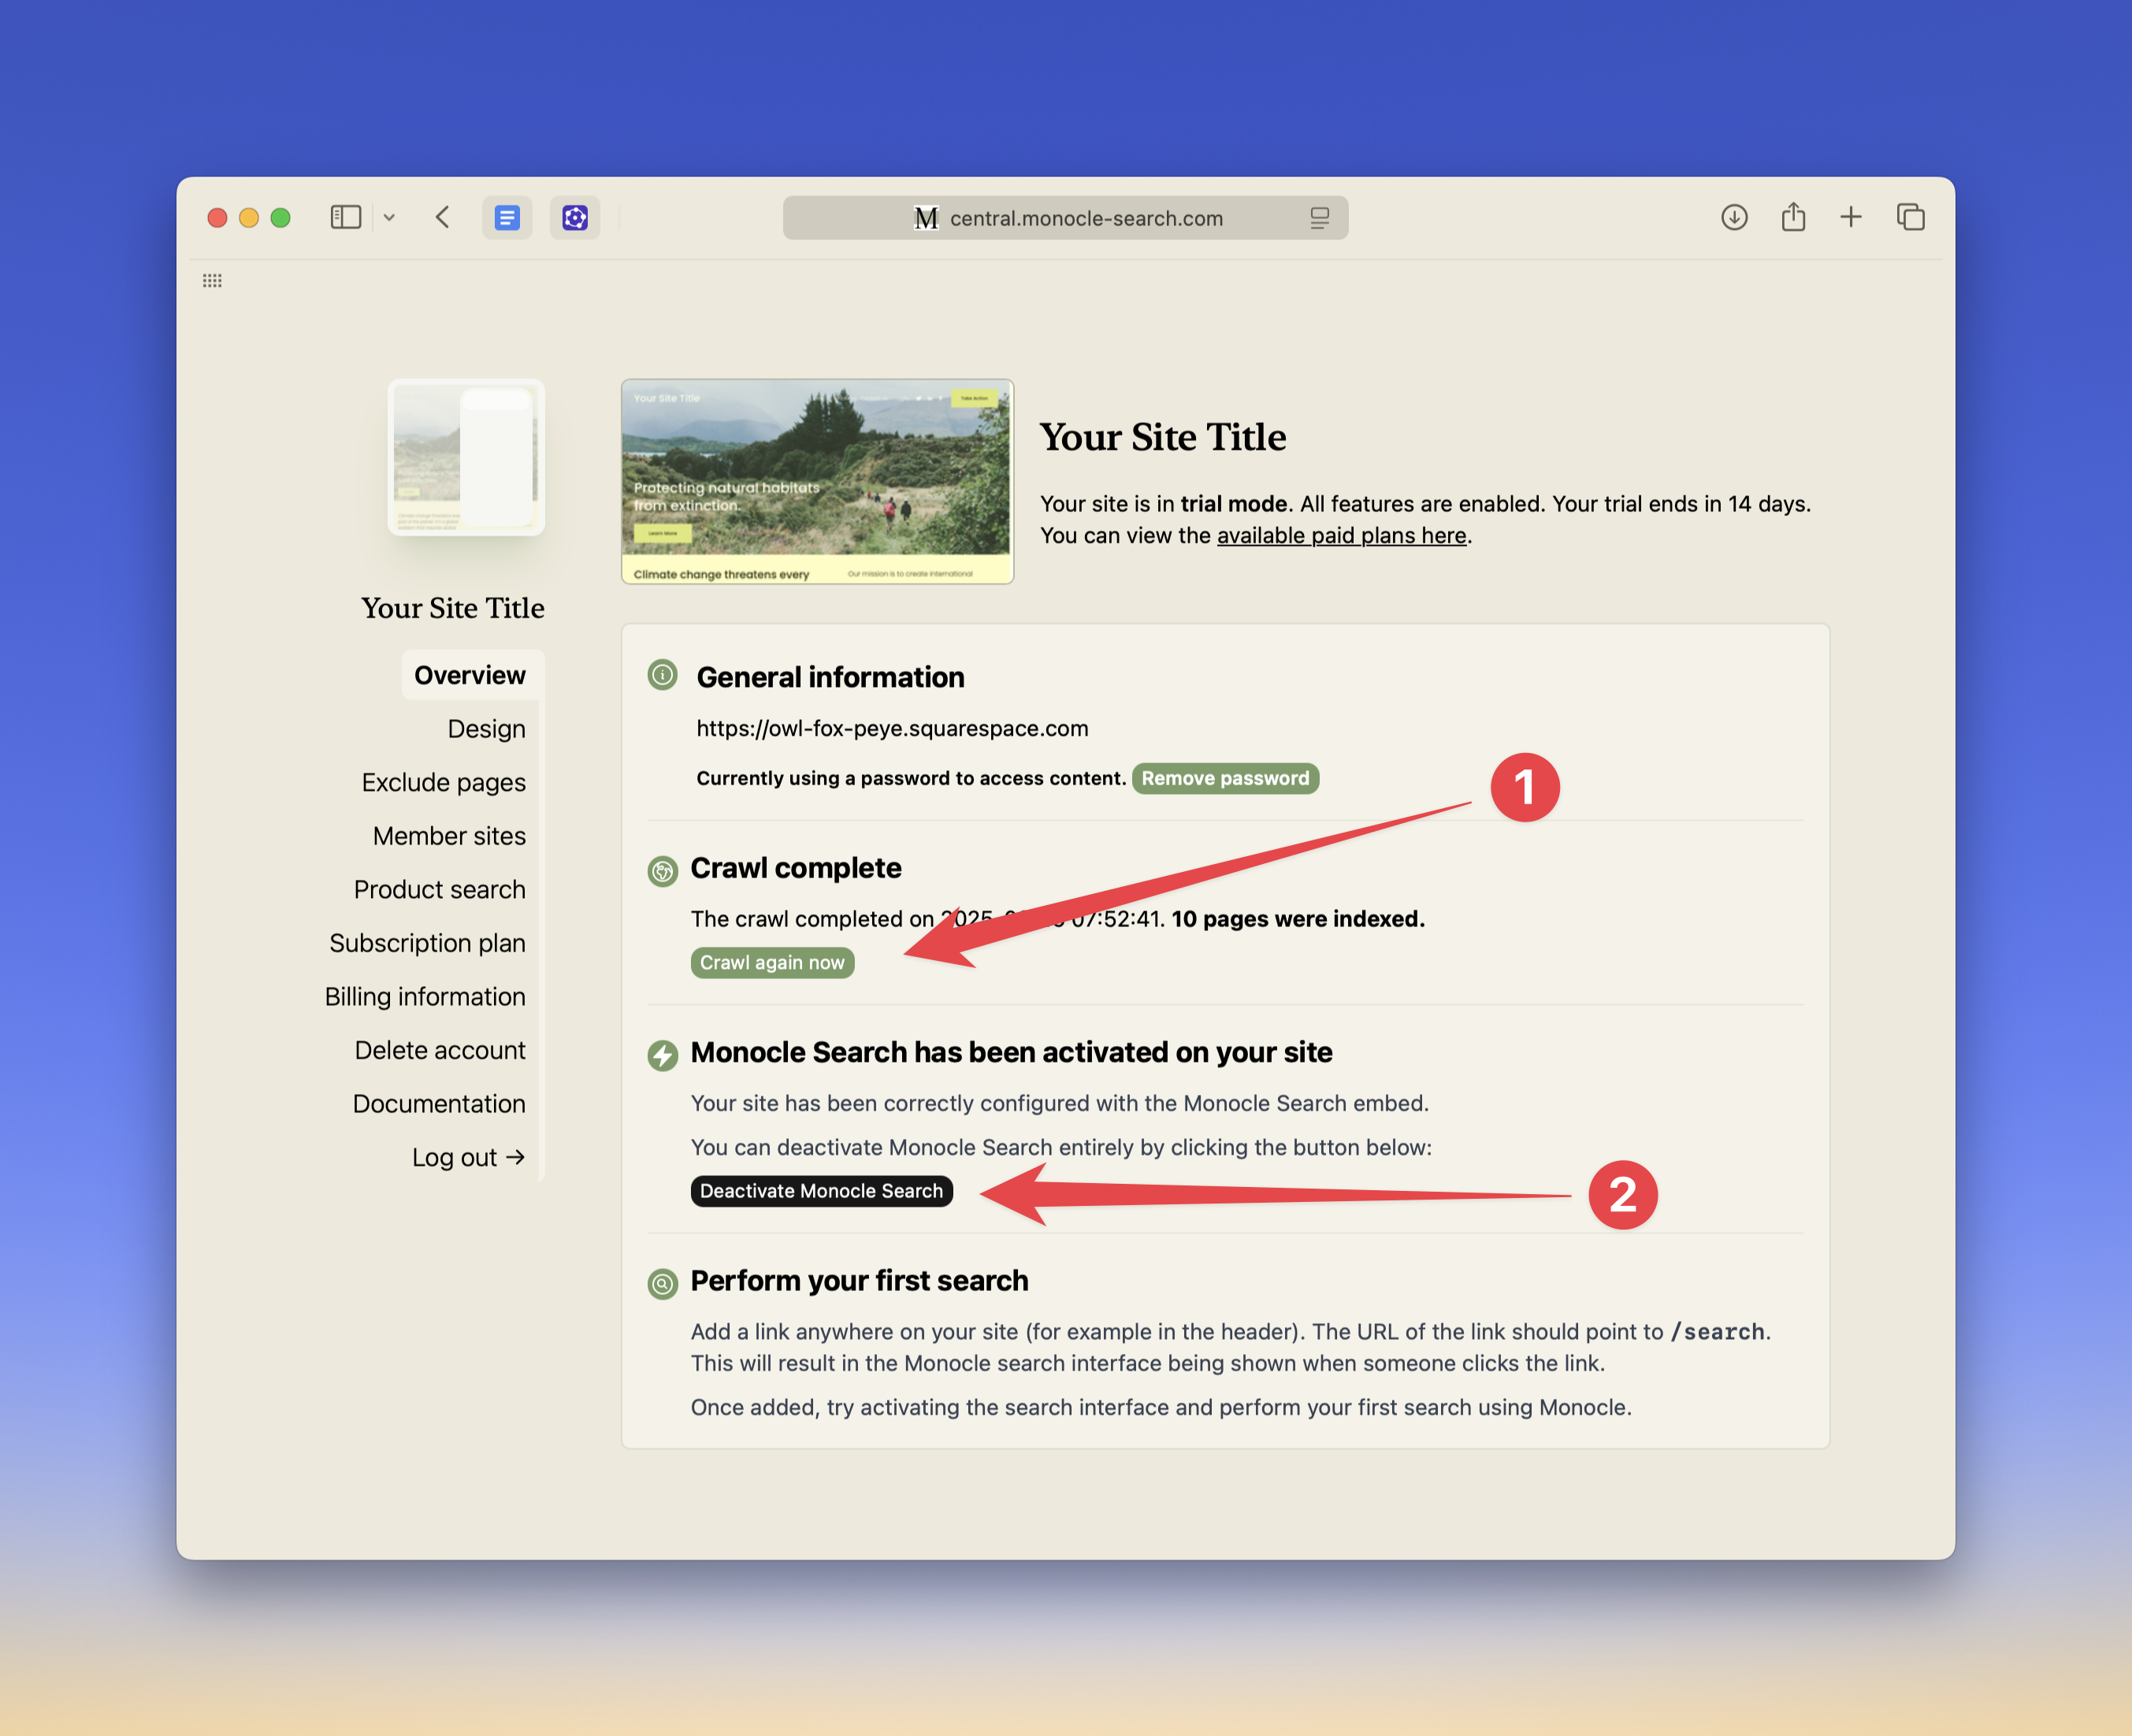
The page has two important controls:
1. Start a crawl
Monocle crawls your site automatically. After a major site change, use this control to start a crawl without waiting for the next scheduled crawl.
2. Deactivate Monocle Search
Select Deactivate Monocle Search to disable Monocle temporarily. The button then lets you activate Monocle again.
Part 2: Make search easy to find
Monocle is now active. It supports the Squarespace search page at /search and any Squarespace search blocks on the site.
Next, add a link to the site header. This link opens the Monocle Search interface.
- Open the site editor in Squarespace.
- Select the plus sign next to Main Navigation.
- Select Link.
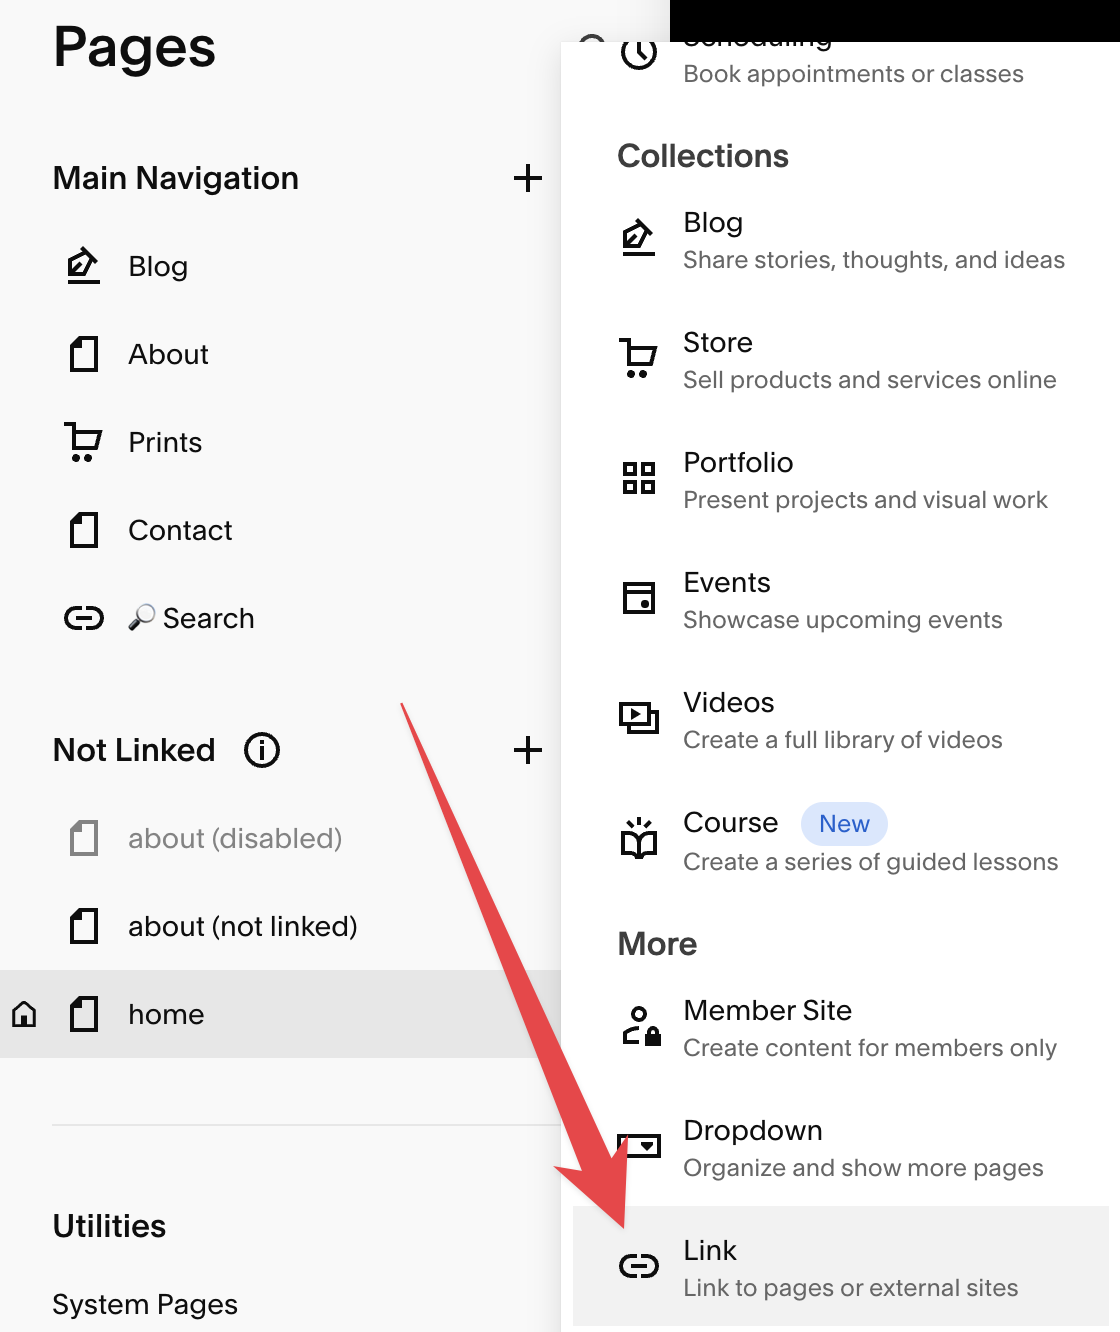
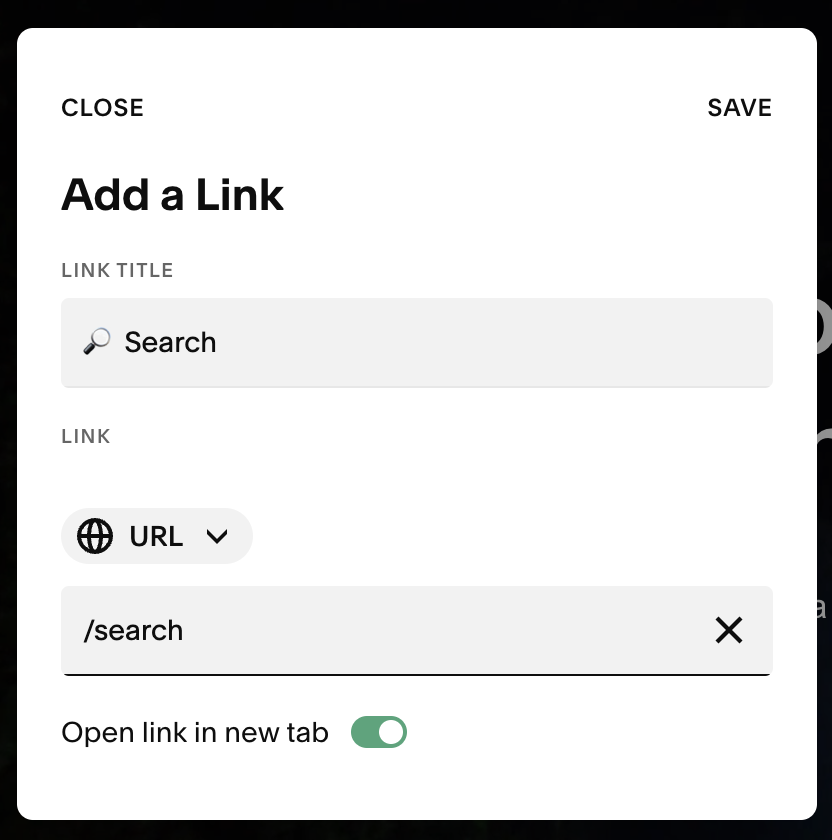
- Enter a link label, such as Search.
- Enter
/searchin the URL field:
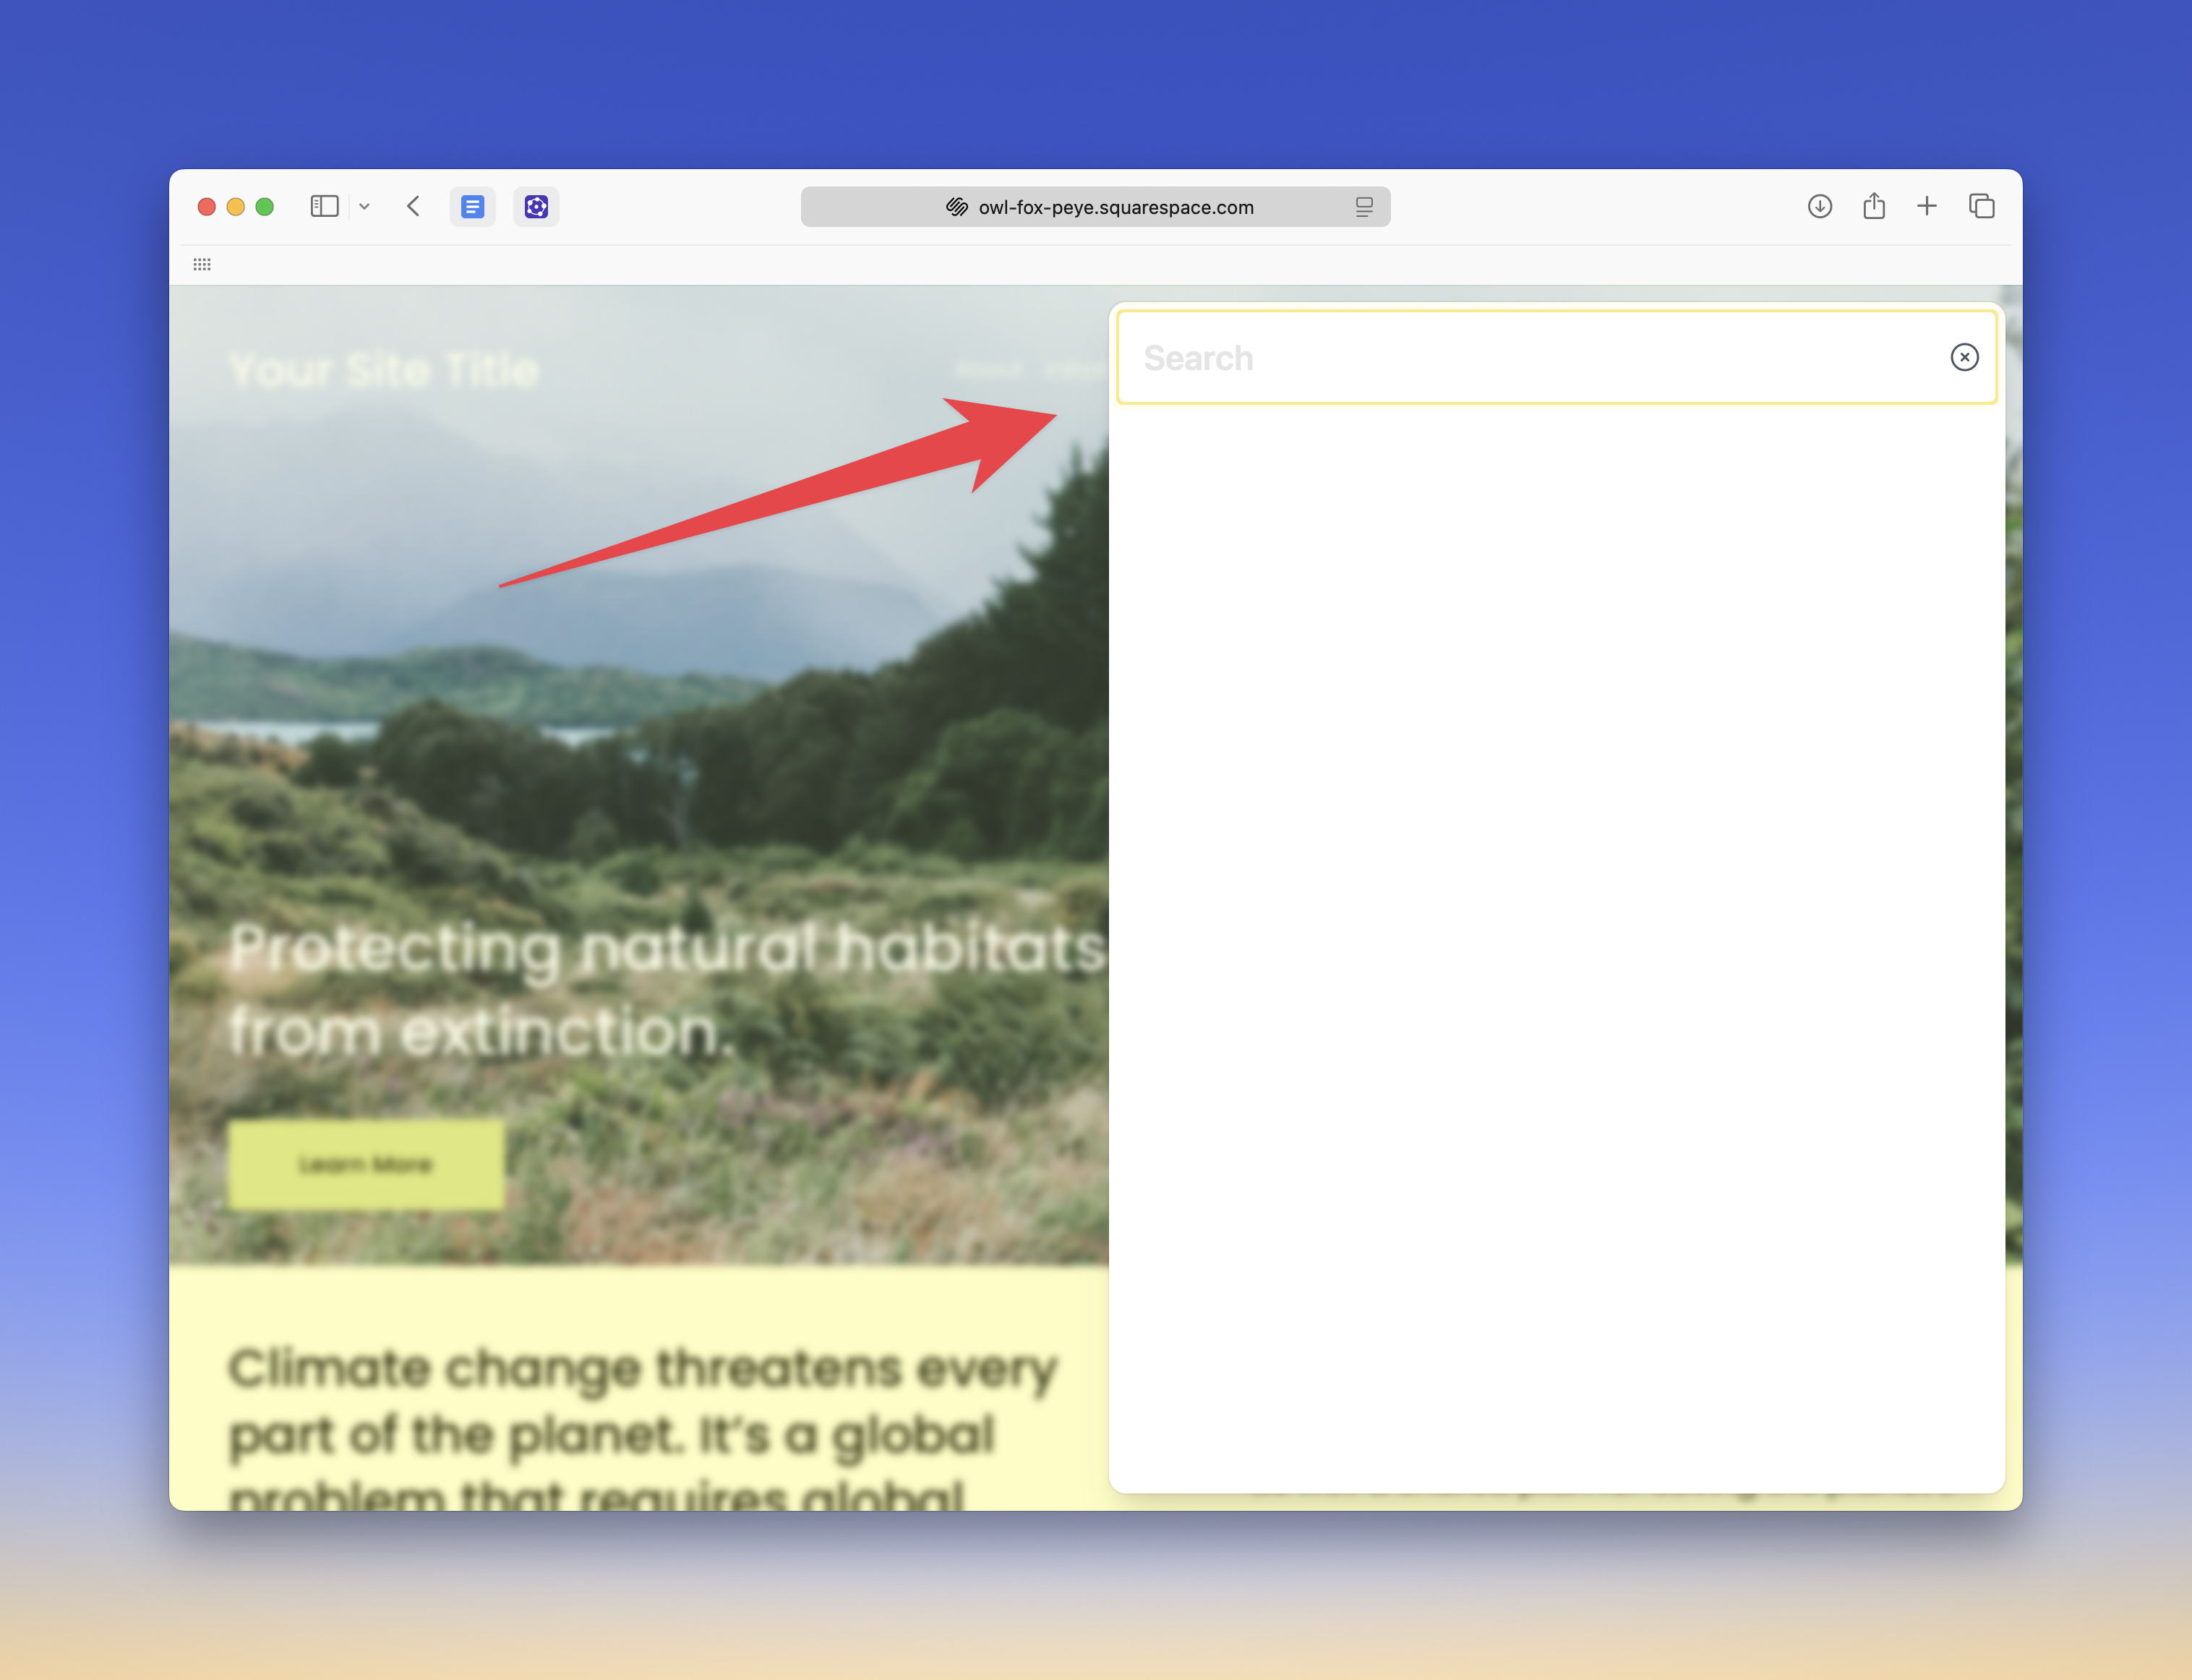
Save the changes. Open the site, then select the new Search link. The search interface should open.

The link opens this interface:
Next steps
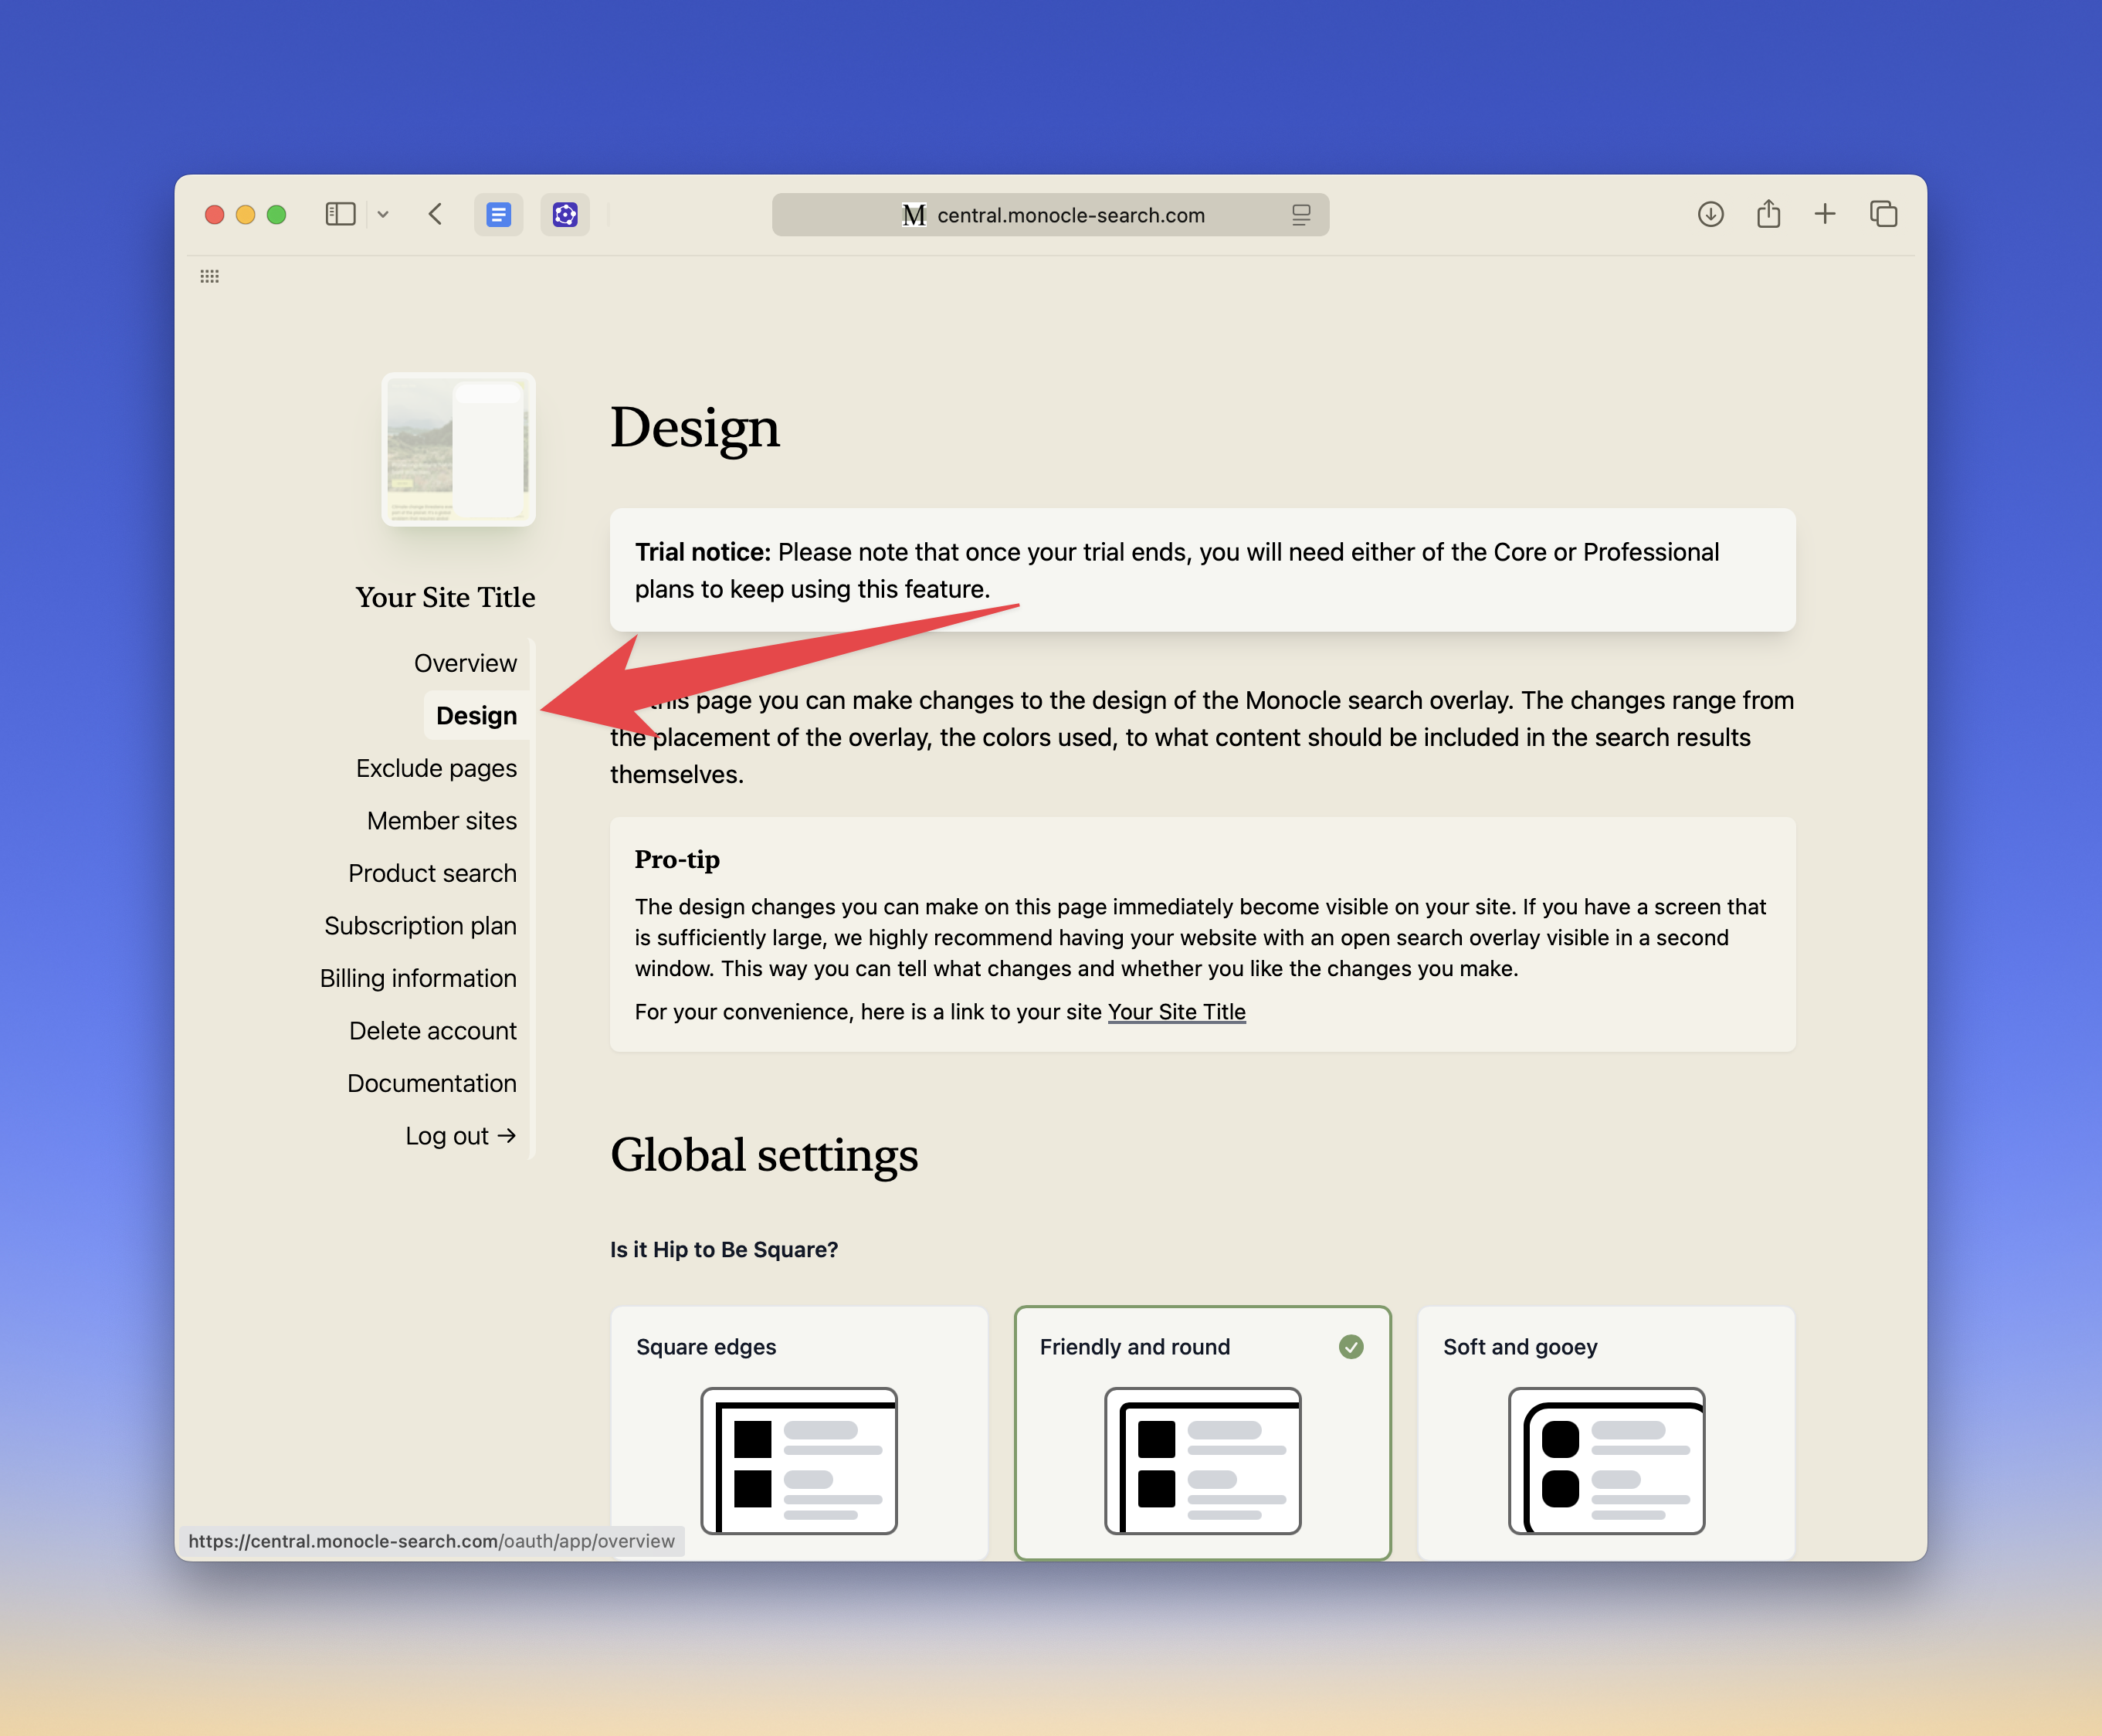
Open Design in the Monocle Search admin interface. Use the design editor to match the search interface to your site.
Open the design editor and your site in two browser windows. Put the windows side by side. Design changes apply automatically.
The Design section is in the left menu:
Additional information
Squarespace Search Block
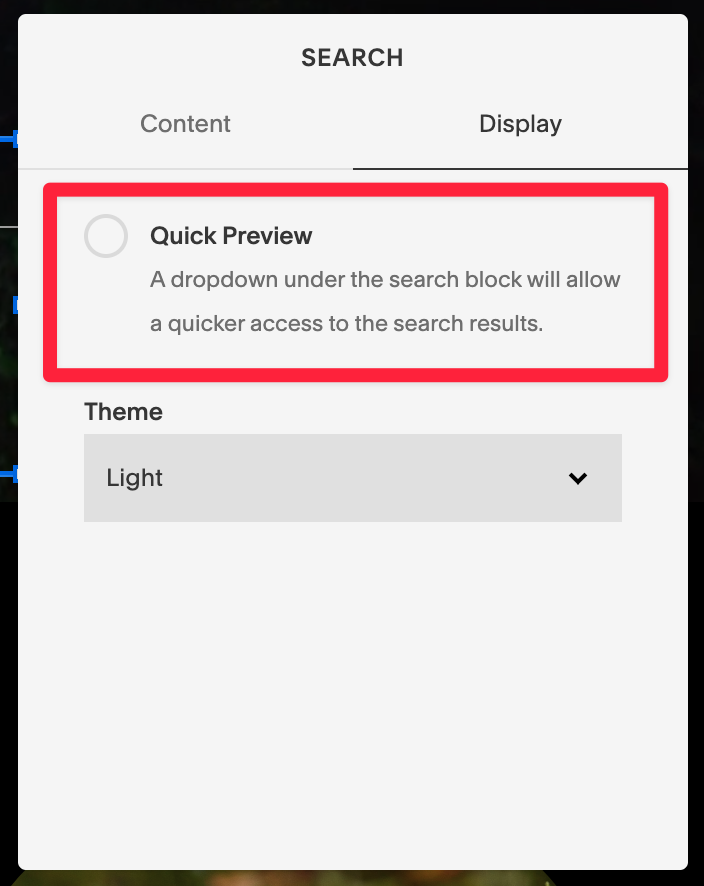
Turn off Quick Preview when you use a Squarespace Search Block.
Select the edit pencil for the Search Block, then select Display. Turn Quick Preview off.